
Information For Mozilla Hijacker Removing
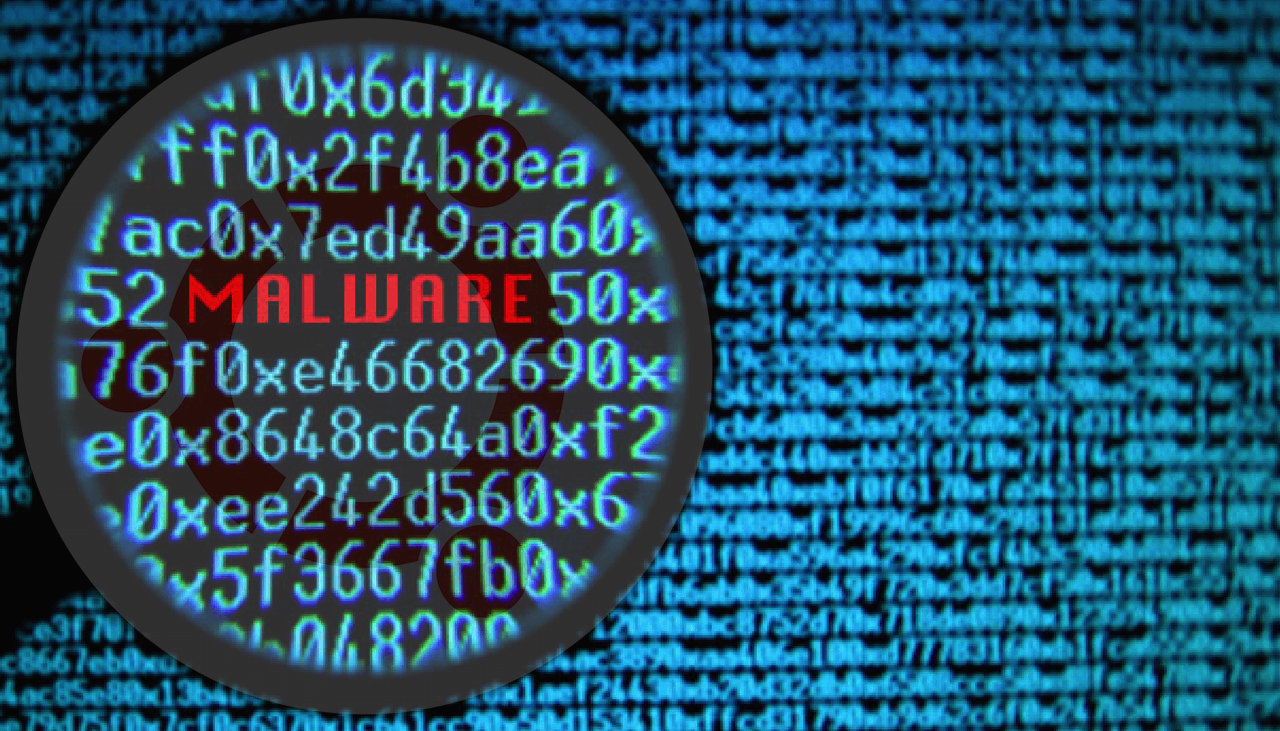
If a person begins to expertise shopping issues like Gradual loading of net pages Search outcomes being redirected to unrelated and unknown web sites Too many instruments bars in your net browser A number of pop-ups and flash ads developing while you’re shopping You default net browser modifications from Mozilla Firefox to some unknown browser. Then possibly the system has been contaminated with a malware known as the Mozilla hijacker. This malware is particularly designed to change the Firefox settings with the first goal of redirecting the search engine outcomes to these net pages by way of which the hackers and net web page homeowners can collectively earn promoting income. This malware usually enters the pc through free bundled software program. When a person installs such software program, the malware illegally infects the pc. This malware not solely impacts person shopping expertise however could lead the person to fraudulent and varied different contaminated websites too, therefore you will need to take instantaneous motion for Mozilla hijacker elimination. Listed here are just a few steps to information you on Mozilla hijacker elimination:- Scan the system: Firstly scan your pc with a really environment friendly antivirus program and let it cope with the elimination of the malware. Thrash all undesirable packages, browser hijackers and adware:- This may be accomplished from the Management Panel. Click on ‘Begin’ and choose ‘Management Panel’. Within the window then choose ‘Add/Take away packages’ and from the listing that comes up uninstall all malicious packages, adware , toolbars, browser hijackers and some other file that you simply see bears an identical identify to the malware. Be certain that the Proxy server choice is unchecked:- Open the ‘Management Panel’ and choose ‘Community and Web ‘after which ‘Web Choices’. Within the window that opens click on on the ‘Connections’ tab after which select ‘LAN Settings’. Within the LAN window , uncheck the checkbox for ‘Proxy server’ and hit ‘OK’. Confirm the DNS server deal with setting:- As soon as once more go to the ‘Management Panel’ and choose ‘Community and Web’ after which ‘Community and sharing Heart’ and from this window select ‘Native Space Connection’. Within the LAN standing window click on on the ‘Properties’ tab and choose ‘Web Protocol Model 6 (TCP/IP V6)’, choose the ‘Properties’ tab on this window. Within the window that opens choose, ‘Get hold of DNS server deal with routinely’ after which click on on ‘Okay’. Examine the ‘Hosts Information’ content material:- To entry the ‘hosts file’ go to C:WINDOWSsystem32driversetc. and double click on on ‘hosts’ . Open the file utilizing the Notepad. Within the content material on the notepad, search for ‘127.zero.zero.1’ (in Home windows XP) and ‘127.zero.zero.1 (in Home windows Vista and Home windows Seven); each of those ought to have only one line of content material. If there’s greater than a line, delete it and choose apply modifications. Take away shortcuts of the hijacked Morzilla:- Click on on the browser shortcut on the desktop and choose ‘Properties’. Within the ‘goal’ area, if there exists a path identify which is inflicting redirection of net pages, take away the identical and apply the modifications. Choose ‘Manufacturing unit default settings’ for the router:- Lastly to get rid of all traces of the malware fully reset the router to the default manufacturing unit settings.

More Stories
Tips on how to Take away Backdoor IRCBot Dorkbot A?
Backdoor IRCBot Dorkbot A is a type of Computer virus virus that allow the pc compromised in entrance of a...
Avira Antivirus Presents Strong Safety Options to Detect and Take away Viruses
There are lots of malicious purposes and software program circulating on the web attacking hundreds of computer systems worldwide. These...
Virus/Spy ware Removing Via four Simpletools
Safety is an important want in at this time's world. Individuals all around the world are being attacked by the...
Antivirus and Spyware and adware Elimination Help
With growing tendencies of web, customers are rather more getting uncovered in direction of threats and malicious functions. At that...
Damages Attributable to Malware
Computer systems are besieged by risks and threats these days whether or not the pc's related to the Web or...
Buy Kaspersky Web Safety 2013 and Overlook about PC infections
With the number of methods and means via which the web can be utilized as we speak, has opened up...